Connect with ngrok
Create an ngrok account, find your authtoken, connect RepoTunnel’s built-in provider, and verify HTTPS, OAuth and a real workspace call.
Guides follow the current project source. Check the release notes for your installed version.
Before you start
ngrok provides the public HTTPS route from your AI client to RepoTunnel on this computer. RepoTunnel integrates ngrok through its Rust SDK and manages the connection itself. You only need your account’s authtoken for this path.
- RepoTunnel is running and the intended project is approved.
- You can sign in to your own ngrok account.
- Your computer can reach ngrok over the internet.
- Keep RepoTunnel and the computer running while the remote client uses them.
1 Create or sign in to your account
Open the official account page below. Create your account using an available sign-up option and complete the provider’s account verification. If you already have an account, choose Log in.
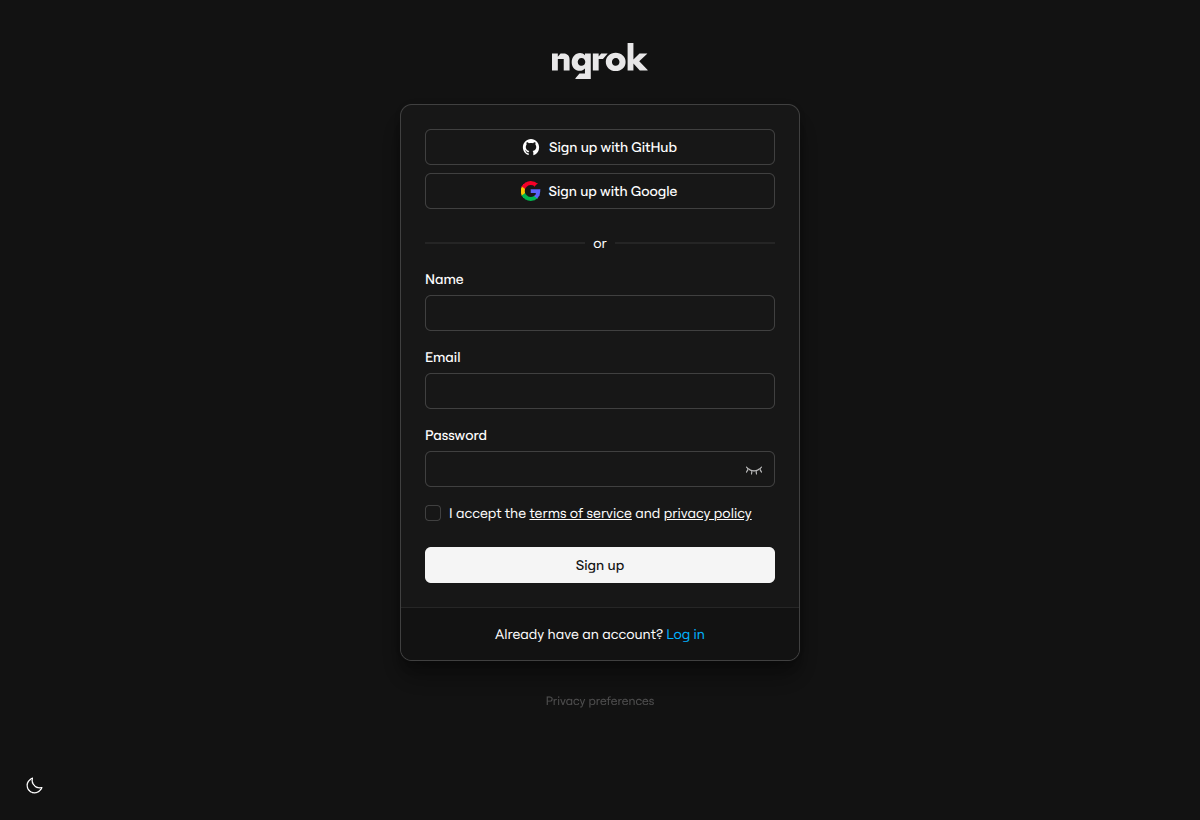
ngrok’s public account page, captured 9 October 2026. Complete registration on ngrok; RepoTunnel does not create the account for you.
2 Get your authtoken
Once signed in, open Your Authtoken using the direct link below. Copy the token value into RepoTunnel’s local credential field. If the dashboard presents a command containing the token, copy only the token value, not the command.
The authtoken authorizes RepoTunnel’s ngrok connection. Complete any sign-in prompts on ngrok itself; keep the token out of chats, screenshots and project files.
- Sign in to the account whose endpoint and usage limits you want RepoTunnel to use.
- Open Your Authtoken and copy your own token.
- Keep RepoTunnel’s Connect screen open for the next step.
3 Configure RepoTunnel
The labels below follow the current app source. Installed releases may show slightly different controls.
- Open Connect in RepoTunnel and select ngrok in the public-provider selector.
- Paste the token into ngrok authtoken.
- Choose Set up & connect. If another provider is configured, use the displayed switch action.
- Wait until the local gateway is Online and the public connection reports Ready.
- Copy the exact MCP HTTPS URL displayed by RepoTunnel. Use its /mcp endpoint in the AI client.
4 Verify the public endpoint
Open the public connection’s health URL using the same hostname as its MCP URL. The hostname and HTTPS response should match RepoTunnel’s running provider. Then finish OAuth in the AI client and perform a real approved-workspace request.
In the following example, replace YOUR-PUBLIC-HOST with the hostname actually shown by RepoTunnel. The health request contains no provider credential.
- The public provider is Ready and the local gateway is Online.
- The client completes RepoTunnel OAuth and discovers tools.
- A list_workspaces call returns the intended approved project.
- A read-only file request works within that project’s access policy.
curl -i https://YOUR-PUBLIC-HOST/healthKeep the endpoint working
RepoTunnel stores the configured provider state outside the project and attempts to reuse its assigned endpoint across normal restarts. Keep the exact endpoint displayed by the app as your source of truth; account/domain support and provider limits still apply.
Use Restart connection when the app’s connection needs attention. If the public hostname actually changes, update the AI client’s endpoint and complete authorization again as needed.
Troubleshoot the failing stage
Check the displayed provider error before changing configuration. A provider problem, an expired AI-client authorization and a workspace permission refusal have different fixes.
- Token refused: reopen Your Authtoken for the intended account and paste its current value locally.
- Provider or account limit: review ngrok usage and the account’s current plan limits.
- Gateway Offline: restore the local gateway in RepoTunnel before testing the public route.
- Provider Ready but client fails: check the exact MCP URL, OAuth authorization and tool discovery.
- Project operation refused: inspect the project’s access mode and protected-path policy.